
Welcome! This guide assists in utilizing your Cuisinart ice cream maker, offering delicious homemade frozen desserts. Explore manuals and recipes for optimal enjoyment!
What’s Included in the Box
Your Cuisinart Ice Cream Maker package should contain several key components for successful ice cream creation. Expect a motor base, providing the power for mixing, and a double-insulated freezer bowl – essential for the freezing process. A paddle, designed for efficient churning, is also included.
Furthermore, you’ll find a lid with a feed tube for adding mix-ins during operation. Don’t forget the instruction manual and recipe guide, offering valuable tips and delicious starting points. Verify all parts are present before beginning; missing components may hinder your ice cream-making adventure. Refer to the documentation for a detailed parts list.
Safety Precautions
Prioritize safety when operating your Cuisinart ice cream maker. Always unplug the unit before cleaning or disassembling. Never immerse the motor base in water or other liquids; this poses an electrical hazard. Ensure the freezer bowl is thoroughly frozen before use to prevent damage.
Keep hands and utensils away from the moving paddle during operation. Supervise children closely when the appliance is in use. Do not operate the ice cream maker if the cord or plug is damaged. Avoid using extension cords; plug directly into a grounded outlet. Read the full instruction manual for comprehensive safety guidelines.
Getting Started: Preparation
Begin your ice cream journey! Thoroughly wash all components and ensure the freezer bowl is completely frozen for optimal results and creamy textures.
Washing and Preparing the Parts
Initial cleaning is essential! Before your first use, and after each subsequent batch, disassemble all components – the motor base, freezer bowl, mixing paddle, and lid. Wash all removable parts in warm, soapy water.
Avoid abrasive cleaners, as they can damage the surfaces. The freezer bowl should be hand-washed only; never place it in the dishwasher. Ensure all parts are completely dry before reassembling. Inspect for any residue or lingering odors. Proper cleaning guarantees hygienic and flavorful ice cream creations, preventing cross-contamination and maintaining the longevity of your Cuisinart ice cream maker.
Freezing the Bowl: Crucial First Step
Complete freezing is paramount! The freezer bowl must be thoroughly frozen for at least 24 hours before making ice cream. Place it in the coldest part of your freezer, ensuring it isn’t near the defrost vent. A fully frozen bowl is identifiable by its extremely cold temperature.
Insufficient freezing will prevent the mixture from solidifying. Avoid refreezing a partially thawed bowl; start with a fresh freeze cycle. This step is non-negotiable for successful ice cream making. Consistent, proper freezing guarantees optimal results and a creamy texture, making your Cuisinart experience truly rewarding.

Understanding the Components
Familiarize yourself! Your Cuisinart ice cream maker features a motor base, a freezer bowl, and a mixing paddle – each vital for creamy results.
The Motor Base
The heart of the operation! The Cuisinart motor base securely holds the freezer bowl during the ice cream-making process. It’s designed to rotate the mixing paddle consistently, ensuring even freezing and a smooth texture. Always place the motor base on a flat, stable surface before operation.
Ensure the motor base is plugged into a grounded electrical outlet. Avoid any liquids near the base to prevent electrical hazards. The motor’s power drives the paddle, incorporating air and preventing large ice crystals from forming. Regular cleaning of the motor base is recommended, but never immerse it in water!
The Freezer Bowl
Essential for freezing! The Cuisinart freezer bowl is a double-walled, insulated container that holds the ice cream mixture during churning. It must be completely frozen for at least 24 hours before use – this is crucial for successful ice cream making. Do not place the bowl in a dishwasher; hand washing is recommended.
Ensure the bowl is thoroughly frozen; a partially frozen bowl will result in a soupy consistency. The bowl’s interior facilitates the freezing process as it rotates, scraping the frozen mixture from the sides. Handle with care to avoid dents or damage, as this can affect performance.
The Mixing Paddle
The heart of churning! The mixing paddle, also known as the dasher, is responsible for continuously agitating the ice cream mixture within the frozen bowl. This action incorporates air and prevents large ice crystals from forming, resulting in a smooth, creamy texture. It securely attaches to the motor base and rotates during operation.
Ensure the paddle is properly assembled before each use. It’s designed to scrape the frozen mixture from the bowl’s sides, ensuring even freezing. After use, disassemble and wash all paddle components thoroughly with warm, soapy water. Avoid abrasive cleaners that could damage the plastic.
Making Your First Batch of Ice Cream
Let’s begin! Select a recipe, assemble the maker, and follow the freezing process for delightful homemade ice cream. Enjoy the sweet results!
Recipe Selection: Choosing the Right Base
Embark on a flavorful journey! Selecting the perfect base is crucial for ice cream success. Consider classic vanilla, rich chocolate, or explore frozen yogurt and sorbet options.
Ensure your recipe is specifically designed for an ice cream maker, as ingredient ratios impact freezing. Pre-made mixes offer convenience, while homemade bases allow customization.
Look for recipes that detail chilling times – a well-chilled base freezes faster and yields a smoother texture. Experiment with unique creations, but always start with a reliable, tested recipe to understand the process. Remember, a good base is the foundation of exceptional ice cream!
Assembling the Ice Cream Maker
Let’s build your frozen delight machine! Begin by securely placing the thoroughly frozen freezer bowl onto the motor base. Ensure it clicks firmly into place for optimal operation.
Next, attach the mixing paddle – it should fit snugly onto the motor shaft. Proper alignment is vital for consistent churning.
Once assembled, plug in the unit. The machine is now ready to receive your chilled ice cream base. Double-check all connections before initiating the freezing process. A correctly assembled machine guarantees smooth, creamy results!
The Freezing Process: Step-by-Step
Now for the magic! With the assembled machine running, slowly pour your chilled ice cream base into the freezer bowl through the provided lid opening. Avoid overfilling; leave space for expansion during churning.
Allow the machine to operate for approximately 20-25 minutes, or until the mixture reaches a soft-serve consistency. The churning action gradually freezes the base, incorporating air for a light texture.
Monitor the process; the mixture will thicken. Once desired consistency is achieved, stop the machine and enjoy immediately, or transfer to a freezer for a firmer texture.

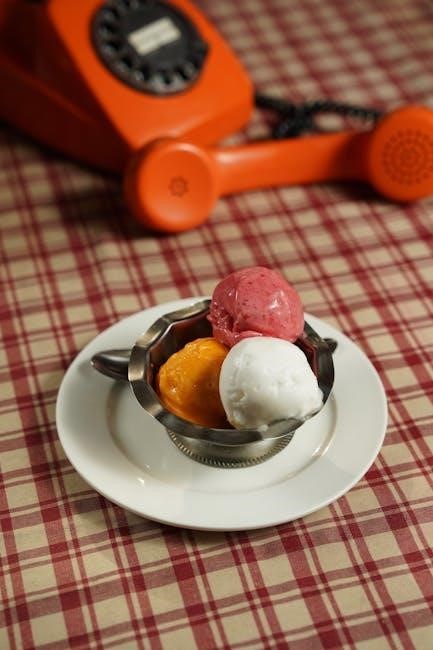
Recipes & Variations
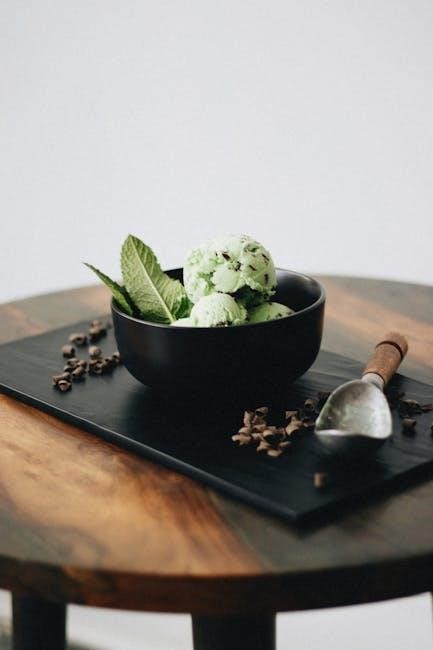
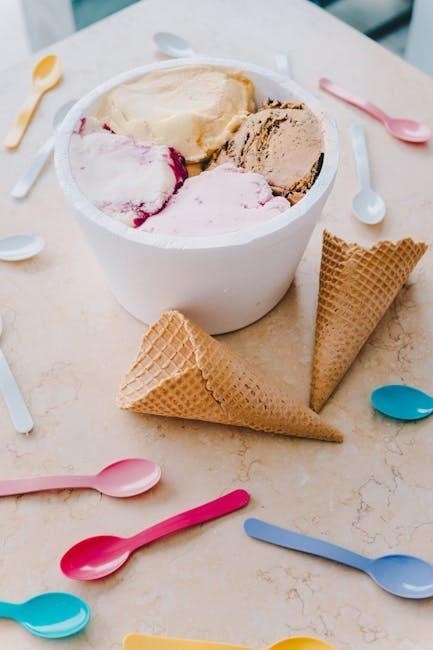
Get creative! Explore classic vanilla, rich chocolate, or refreshing frozen yogurt and sorbet options. Unique ice cream creations await your culinary adventures!
Classic Vanilla Ice Cream Recipe
Ingredients: 2 cups heavy cream, 1 cup whole milk, ¾ cup granulated sugar, 1 tablespoon vanilla extract, and a pinch of salt. This timeless recipe delivers a smooth, creamy vanilla ice cream perfect for any occasion.
Instructions: Combine cream, milk, sugar, and salt in a saucepan. Heat gently until sugar dissolves, stirring constantly. Remove from heat and stir in vanilla extract. Chill the mixture thoroughly – at least 2 hours, or preferably overnight – for optimal results.
Pour the chilled mixture into your frozen freezer bowl and process according to your Cuisinart ice cream maker’s instructions. Enjoy this simple yet satisfying classic!
Chocolate Ice Cream Recipe
Ingredients: 2 cups heavy cream, 1 cup whole milk, ¾ cup granulated sugar, ¾ cup unsweetened cocoa powder, 1 teaspoon vanilla extract, and a pinch of salt. This rich and decadent recipe will satisfy any chocolate craving!
Instructions: In a saucepan, whisk together cocoa powder and sugar. Gradually add milk, stirring until smooth. Then, incorporate heavy cream and salt. Heat gently, stirring constantly, until the mixture is warm and the sugar is dissolved.
Remove from heat, stir in vanilla extract, chill thoroughly, and process in your Cuisinart ice cream maker. Enjoy a truly indulgent chocolate experience!
Frozen Yogurt & Sorbet Options
Frozen Yogurt: Substitute milk with yogurt (Greek yogurt yields a thicker texture). Add fruit purees or extracts for flavor. Reduce sugar slightly, as yogurt is tangier. Experiment with honey or maple syrup as sweeteners!
Sorbet: Utilize a base of fruit puree, water, and sugar. Lemon, raspberry, and mango sorbets are excellent choices. For a smoother texture, strain the puree before churning. Adjust sugar levels based on fruit sweetness.
Your Cuisinart maker effortlessly handles both! Remember to chill the base thoroughly before freezing for optimal results. Enjoy refreshing, lighter alternatives to traditional ice cream.

Troubleshooting Common Issues
Facing problems? This section addresses typical concerns like incomplete freezing, motor failures, or paddle issues, ensuring smooth ice cream creation!
Ice Cream Not Freezing
Problem: Your mixture isn’t solidifying into ice cream. Several factors could be at play. First, ensure the freezer bowl was thoroughly frozen for at least 24 hours – this is crucial. Verify the bowl is level during operation.
Check the mixture’s temperature: It should be well-chilled before pouring it into the bowl. A warm base will significantly hinder the freezing process. Also, confirm the mixing paddle is correctly attached and rotating freely.
Ambient temperature matters: A warm kitchen can slow freezing. Finally, don’t overfill the bowl; leave enough space for expansion during churning.
Motor Not Running
Issue: The Cuisinart ice cream maker’s motor isn’t activating. First, confirm the unit is securely plugged into a functioning electrical outlet. Test the outlet with another appliance to rule out a power issue.
Check the lid assembly: Ensure it’s correctly and firmly locked into place on the motor base. The machine has a safety feature preventing operation if the lid isn’t secure. Inspect the motor base for any visible damage or obstructions.
Overload protection: If the motor overheats, it may temporarily shut off. Allow it to cool down before attempting to restart.
Paddle Not Rotating
Problem: The mixing paddle isn’t turning during the freezing process. Verify the paddle is correctly attached to the motor shaft and fully seated. Ensure no ice cream mixture has hardened around the base of the paddle, obstructing its movement.
Check mixture consistency: An overly thick or frozen base can strain the motor. If this occurs, unplug the machine and allow the mixture to thaw slightly before restarting. Confirm the freezer bowl is adequately frozen – insufficient freezing hinders paddle rotation.
Motor coupling: Inspect the motor coupling for damage.
Care and Maintenance
Proper cleaning and storage are vital for longevity. Wash all parts thoroughly after each use, and store in a cool, dry location.
Cleaning Your Cuisinart Ice Cream Maker
Thorough cleaning is essential after each use to prevent bacteria growth and ensure optimal performance. Begin by unplugging the unit. Carefully disassemble all removable parts – the freezer bowl, mixing paddle, and lid. Wash these components in warm, soapy water; avoid abrasive cleaners that could damage the surfaces.
The motor base should be wiped down with a damp cloth only; never immerse it in water. Ensure all parts are completely dry before reassembling. The freezer bowl is often hand-wash recommended, though some models may have dishwasher-safe components – consult your specific model’s manual. Regular cleaning extends the life of your Cuisinart ice cream maker!
Storage Instructions
Proper storage safeguards your Cuisinart ice cream maker for future use. Before storing, ensure all components are completely clean and dry, preventing mold or mildew. The freezer bowl requires special attention; it should be stored in the freezer, ready for your next batch, even when not in immediate use.
The motor base, lid, and paddle can be stored in a cool, dry place, away from direct sunlight. Avoid stacking heavy items on top of the unit. Keeping the original packaging is beneficial for protection during long-term storage. Following these guidelines ensures your ice cream maker remains in excellent condition!
Advanced Techniques
Expand your skills! Experiment with flavor combinations and mix-ins, mastering ice cream creation beyond basic recipes for unique, delightful frozen treats.
Making Ice Cream Without Recipes
Unleash your creativity! While recipes provide a solid foundation, don’t be afraid to experiment and develop your own signature ice cream flavors. Start with a basic custard base – typically eggs, sugar, and dairy – adjusting ratios to achieve desired richness.
Infuse flavors directly into the base during heating, such as vanilla bean, citrus zest, or spices. Consider fruit purees, chocolate, or coffee extracts for bolder tastes. Remember that alcohol can lower the freezing point, so use it sparingly.
Taste frequently and adjust sweetness or flavor intensity as needed. Document your successful combinations for future batches, building a personal repertoire of unique frozen delights!
Adding Mix-Ins: Timing is Key
Perfect timing ensures delightful textures! Add mix-ins – chocolate chips, nuts, fruit pieces, cookies – during the last few minutes of the churning process. Introducing them too early can result in crushed or overly incorporated ingredients, impacting the final consistency.
Typically, around 5-10 minutes before the cycle ends is ideal. Gently pour in your chosen additions while the machine is running, allowing them to distribute evenly without becoming pulverized.
For softer mix-ins like marshmallows, a slightly later addition is best. Experiment to find the sweet spot for your preferred texture and distribution of delightful inclusions!
Warranty Information
Cuisinart provides warranties on its ice cream makers. Details vary by model; review your documentation or contact customer support for specific coverage terms.
Cuisinart Warranty Details
Your Cuisinart ice cream maker is covered by a limited warranty, protecting against manufacturing defects. Typically, this warranty spans one year from the original purchase date, covering both parts and labor. However, specific terms can differ based on the model and region. Damage resulting from misuse, accidents, or unauthorized repairs isn’t covered.
To make a warranty claim, retain your proof of purchase and contact Cuisinart’s customer support. They will guide you through the process, potentially requiring you to ship the unit for inspection or repair. Registering your product online can streamline future claims. Always refer to the warranty documentation included with your appliance for the most accurate and up-to-date information.
Contacting Customer Support
Need assistance with your Cuisinart ice cream maker? Cuisinart offers multiple avenues for support. You can reach their customer service team via phone, typically available during standard business hours. Their website, cuisinart.com, provides a comprehensive FAQ section and access to downloadable manuals.
For personalized help, utilize the online contact form or live chat feature. Be prepared to provide your model number and purchase date. Social media channels may also offer support, though response times can vary. Retaining your warranty information will expedite the process if you need to file a claim. Prompt and helpful assistance is readily available!
Leave a Reply
You must be logged in to post a comment.