Singer 500A Sewing Machine: A Comprehensive Guide
Delve into the world of the Singer 500A! This guide explores its history, features, and operation, referencing available manuals and online resources for assistance.
Historical Context of the Singer 500A
The Singer 500A emerged during a pivotal era for home sewing, building upon Singer’s legacy since Isaac Singer’s 1851 patent. Representing a shift towards more accessible and reliable machines for domestic use, the 500A, and its variations like the 500, became popular in the mid-20th century.
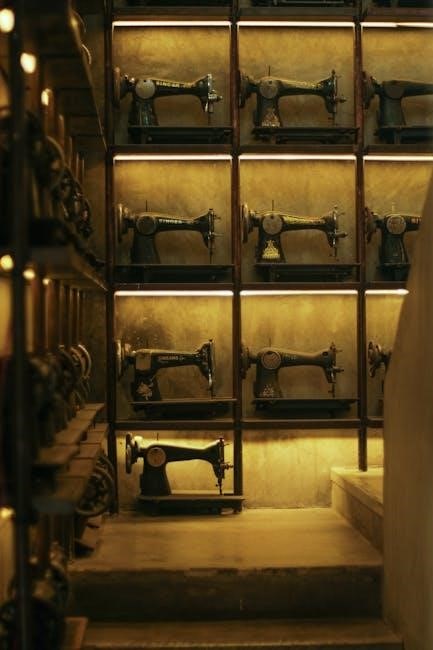
These machines were designed for durability and versatility, catering to a growing market of home sewers. Finding original manuals, often available as PDF downloads, provides insight into the intended user experience and maintenance procedures of the time. The “Rocketeer” series, as some models were known, reflects a design aesthetic of the period.
The enduring appeal of the 500A is evidenced by continued online support and the availability of replacement parts, demonstrating its lasting impact on sewing enthusiasts.
Key Features and Specifications
The Singer 500A is renowned for its robust, fully mechanical construction, eschewing electronic components for reliable performance. It typically features a free-arm design for easier sewing of cuffs and sleeves. Stitch selection is managed via dials, offering a range of straight and zigzag stitches – essential for various fabric types and applications.
While not boasting the extensive stitch libraries of modern machines, the 500A excels in fundamental sewing tasks. Its heavy-duty metal frame ensures stability, even when working with denim or multiple fabric layers. Manuals detail the machine’s capabilities, including buttonhole options (depending on the specific model variation).
Power comes from a traditional electric motor, providing consistent speed and control. Understanding these specifications, often detailed in owner’s manuals, is crucial for optimal operation.
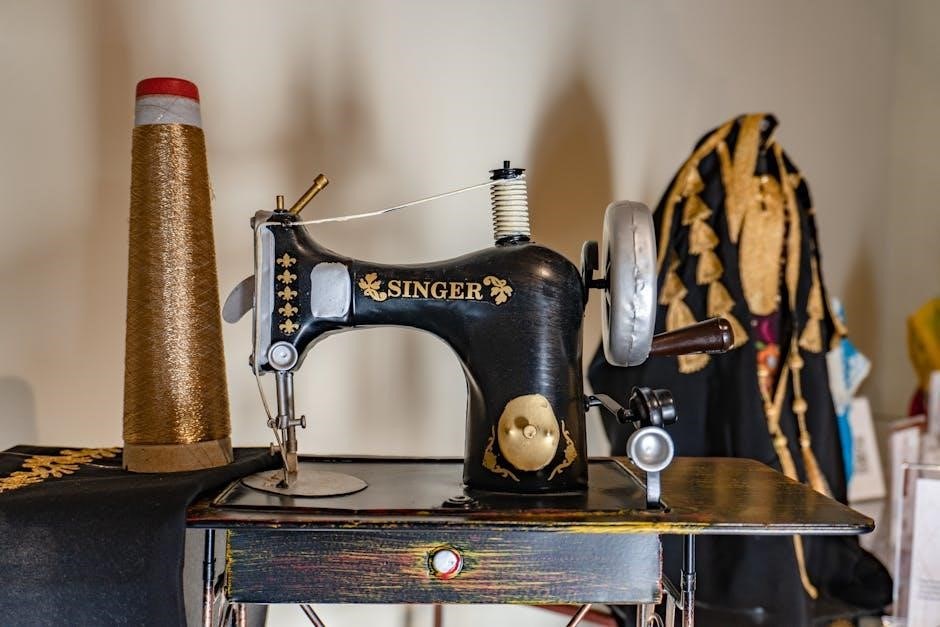
Identifying Your Singer 500A Model (Including Variations)
Pinpointing your exact Singer 500A variation is vital, as manuals and parts can differ. The core “500A” designation covers several sub-models, often distinguished by serial numbers and minor feature adjustments. Look for a plate on the machine’s body displaying this information.
The “Rocketeer” is a common nickname for certain 500A iterations, often referencing a specific aesthetic or feature set. Online forums and dedicated Singer communities are invaluable resources for identifying these nuances. Manuals sometimes refer to these variations directly, or provide clues based on production dates.
Carefully compare your machine’s features – stitch patterns, buttonhole mechanisms – with images and descriptions found in available documentation. This ensures you’re using the correct manual and sourcing compatible replacement parts.

Understanding the Machine Components
Explore the Singer 500A’s inner workings! This section details the main body, needle system, presser feet, bobbin, and stitch adjustment dials for optimal use.
Main Body and Internal Mechanisms
The Singer 500A’s robust construction is central to its durability. Its heavy-duty metal frame provides stability during operation, even with thicker fabrics like denim. Internally, a precisely engineered system converts motor power into needle motion. Key components include the drive belt connecting the motor to the handwheel, and the intricate linkage responsible for needle up-and-down movement.
Understanding the flywheel’s role is crucial; it regulates speed and provides momentum. The machine’s internal gearing facilitates stitch formation, while the feed dogs, positioned beneath the presser foot, advance the fabric with each stitch. Regular inspection of these internal parts, as outlined in the original manuals, ensures smooth and reliable performance. Proper lubrication, detailed in maintenance guides, is vital for preventing wear and tear on these mechanisms.
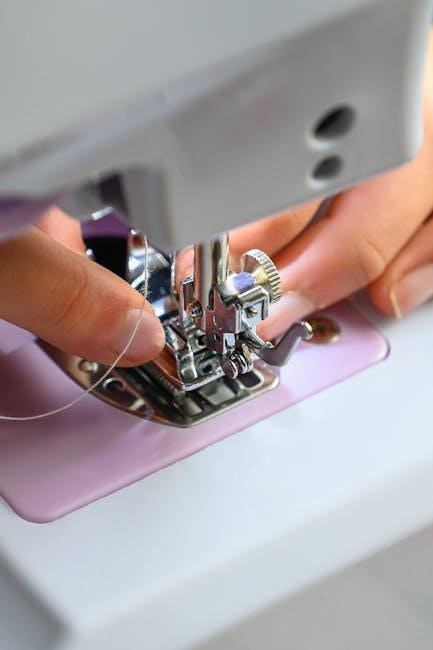
Needle, Presser Foot, and Bobbin System
The Singer 500A’s stitch formation relies on a harmonious interplay between the needle, presser foot, and bobbin. The needle, selected based on fabric type, pierces the material, creating a loop. The presser foot maintains consistent fabric pressure, ensuring even stitch length. Beneath the needle plate lies the bobbin system – a crucial element for interlocking the upper and lower threads.
The 500A utilizes a vibrating shuttle bobbin system, known for its reliability. Correct bobbin winding and insertion, detailed in the manual, are essential for proper stitch formation. Different presser feet cater to various sewing tasks, from standard straight stitching to specialized applications like zippers or buttonholes. Understanding the function of each component, and following the manual’s guidance, guarantees optimal sewing results and prevents common issues like thread bunching.
Stitch Selection and Adjustment Dials
The Singer 500A offers a range of stitch options, controlled by intuitive dials and selectors. The stitch length dial allows for customizing the distance between stitches, impacting the fabric’s durability and aesthetic. Similarly, the stitch width dial adjusts the zigzag stitch’s breadth, enabling decorative and functional applications.

The manual details each stitch’s purpose and recommended settings. Proper stitch selection is vital for achieving desired results on different fabrics. Adjustment dials also control tension, crucial for balanced stitch formation. Experimentation, guided by the manual, allows users to fine-tune settings for optimal performance. Understanding these controls unlocks the 500A’s full potential, enabling both basic and advanced sewing projects with precision and ease.
Threading the Singer 500A
Mastering the threading process is key! Follow the manual’s diagrams for upper and lower threading, ensuring proper tension and smooth operation.
Upper Threading Guide – Step-by-Step
Begin by raising the presser foot; this disengages the tension discs, allowing the thread to seat correctly. Place the spool of thread onto the spool pin, securing it with a cap to prevent unwinding. Next, guide the thread through the first thread guide, typically located on the top of the machine.
Continue by drawing the thread down and around the tension discs – ensure it slips between them. Then, lead the thread through the take-up lever, moving upwards, and back down. Following this, thread the needle from front to back (consult your manual for specific needle threading instructions). Finally, pull several inches of thread through the needle eye. Proper threading is crucial for consistent stitch quality and preventing issues like thread breakage.
Bobbin Winding and Insertion
To wind the bobbin, place the bobbin onto the bobbin winder spindle. Engage the winding mechanism by pushing the bobbin winder stem to the right. Begin winding by pressing the foot pedal gently; the machine will automatically stop when the bobbin is full.
Once wound, disengage the bobbin winder and remove the bobbin. Locate the bobbin case – it’s typically accessed via a sliding plate on the machine’s bed. Insert the bobbin into the bobbin case, ensuring the thread unwinds in the correct direction (clockwise or counter-clockwise, as indicated in your manual). Finally, re-insert the bobbin case into the machine and close the access plate. Correct bobbin insertion is vital for a balanced stitch.
Thread Tension Adjustment
Proper thread tension is crucial for achieving balanced stitches. The Singer 500A features a tension dial, typically numbered. Begin with the dial set to the default position (usually ‘4’ or ‘5’). If the upper thread pulls the fabric or forms loose loops on the underside, increase the tension – turn the dial to a higher number.
Conversely, if the bobbin thread pulls the fabric or creates tight, puckered stitches, decrease the tension by turning the dial to a lower number. Test your adjustments on a scrap fabric piece, observing the stitch formation. Minor adjustments often yield significant improvements. Refer to your manual for specific guidance related to different fabric types and thread weights.

Basic Sewing Operations
Master fundamental techniques! This section details straight stitching, zigzag applications, and, if equipped, buttonhole creation on your Singer 500A sewing machine.
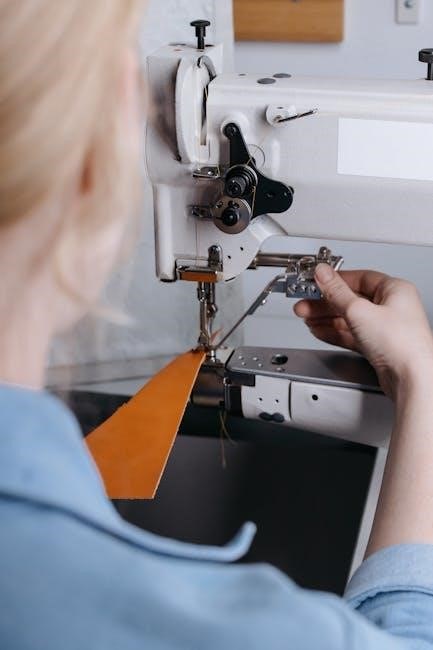
Straight Stitching Techniques
Achieving a perfect straight stitch with your Singer 500A requires a few key steps. Begin by selecting the straight stitch setting on your machine, typically indicated by a line or number. Ensure your fabric is properly aligned with the presser foot, guiding it gently as you sew.
Maintain a consistent sewing speed – not too fast, not too slow – to ensure even stitches. Use the handwheel for precise control, especially when starting or stopping. Regularly check the stitch length setting; a shorter stitch is ideal for delicate fabrics, while a longer stitch suits heavier materials.
Practice on scrap fabric first to get a feel for the machine and adjust settings as needed. Remember to keep your seam allowance consistent for accurate results. A well-executed straight stitch is the foundation for many sewing projects!
Zigzag Stitching and Applications
The Singer 500A’s zigzag stitch offers versatility beyond simple seams. Select the zigzag setting, adjusting the width and length using the corresponding dials. A narrower, shorter zigzag is perfect for reinforcing edges and preventing fabric fraying, while a wider, longer stitch creates decorative effects.
Zigzag stitching excels at sewing stretch fabrics, allowing the seam to expand and contract with the material. It’s also invaluable for appliqué, securing fabric pieces onto a base layer. Experiment with different stitch widths and lengths to achieve varied textures and designs.
Remember to test on scrap fabric before applying to your project. Utilize a zigzag foot for optimal results, ensuring even stitch formation. Mastering the zigzag stitch unlocks a world of creative possibilities with your Singer 500A!
Buttonhole Creation (If Applicable)
Determining buttonhole capability on your Singer 500A is crucial. Some models feature a dedicated buttonhole attachment, while others rely on zigzag stitch manipulation. If equipped, attach the buttonhole foot and select the appropriate buttonhole setting on the stitch selection dial.
Follow the manual’s instructions precisely for accurate buttonhole sizing. Typically, this involves stitching around a button, guiding it with the attachment. Practice on scrap fabric to refine your technique and ensure consistent results. Adjust stitch width and length as needed for different button sizes.
Without a dedicated attachment, create buttonholes using a closely spaced zigzag stitch, reinforcing the ends with backstitching. Careful alignment and consistent pressure are key to a professional finish.
Maintenance and Troubleshooting
Keep your Singer 500A running smoothly! Regular cleaning, oiling, and addressing common issues like thread breakage are vital for longevity and performance.
Regular Cleaning and Oiling
Maintaining your Singer 500A’s internal mechanisms requires consistent cleaning and lubrication. Dust, lint, and old oil accumulate, hindering smooth operation and potentially causing damage. Begin by disconnecting the power source. Use a soft brush – a small paintbrush works well – to remove lint from the bobbin area, feed dogs, and around the needle plate.
For deeper cleaning, a lint roller can be effective. Apply sewing machine oil sparingly to all moving parts, as indicated in the manual. Focus on the bobbin race, shuttle hook, and any gears. Avoid over-oiling, as excess oil attracts more dust. Wipe away any excess oil with a clean cloth. Regular attention – after every few uses – will significantly extend the life of your machine and ensure optimal performance. Remember to consult your manual for specific oiling points.
Common Problems and Solutions (e.g., Thread Breakage)
Thread breakage is a frequent issue with vintage machines like the Singer 500A, often stemming from improper threading or tension. First, re-thread the entire machine, ensuring the presser foot is up during upper threading. Check the bobbin winding – an unevenly wound bobbin can cause problems. Adjust the thread tension dial; tighter tension for lighter threads, looser for heavier ones.

A dull or incorrect needle is another common culprit. Replace the needle with a new one of the correct size and type for your fabric. If the timing seems off, consult a qualified sewing machine technician. Regularly cleaning lint buildup, as described previously, also prevents thread path obstructions. Refer to your manual’s troubleshooting section for detailed guidance on specific error codes or symptoms.
Belt Replacement Guide
Replacing the belt on a Singer 500A requires careful attention. Begin by disconnecting the power! Remove the machine’s cover plates to access the handwheel and motor area. Note the belt’s routing before removal – a photograph is helpful. Gently pry off the old belt from both the motor pulley and the handwheel.
Install the new belt, ensuring a snug but not overly tight fit. The belt should run smoothly without twisting. Reattach the cover plates securely. Before plugging in, manually turn the handwheel to confirm the belt engages properly and the machine operates smoothly. A correctly installed belt will transmit power efficiently, restoring your Singer 500A’s functionality. Consult your manual for specific diagrams and safety precautions.

Finding and Utilizing Manuals & Resources
Locate original Singer 500A manuals online as PDF downloads. Explore forums and communities for support, and access replacement parts easily.
Locating Original Singer 500A Manuals (PDF Downloads)
Finding a genuine Singer 500A manual can significantly enhance your sewing experience. Several online archives and sewing enthusiast websites offer downloadable PDF versions of the original instruction manuals. A quick internet search using terms like “Singer 500A manual PDF” or “Singer 500 series Rocketeer manual” will yield numerous results.
Be cautious when downloading from unfamiliar sources; prioritize reputable websites to avoid malware. Some users have successfully located manuals through online forums dedicated to vintage sewing machines, where members often share scanned copies. Remember that the Singer 500a is often the same as the 500 series, broadening your search possibilities. These manuals provide detailed diagrams and step-by-step instructions for operation, maintenance, and troubleshooting, proving invaluable for both beginners and experienced users.
Online Forums and Support Communities
Engaging with online forums and support communities dedicated to vintage Singer sewing machines is a fantastic resource for 500A owners. These platforms connect you with experienced users who can offer advice, troubleshooting tips, and even share scanned manuals or parts lists;
Many forums host dedicated threads specifically for the Singer 500 series, allowing you to search for solutions to common problems or ask questions directly to the community. Members frequently share their restoration experiences and offer guidance on maintenance procedures. These communities are invaluable for locating hard-to-find information and connecting with fellow enthusiasts who appreciate the enduring quality of the Singer 500A. Active participation can greatly enhance your understanding and enjoyment of this classic machine.
Accessing Replacement Parts
Finding replacement parts for a Singer 500A can require some detective work, but is often achievable. While Singer no longer directly supports parts for this vintage model, several avenues exist. Online auction sites, like eBay, frequently list original and reproduction parts sourced from disassembled machines.
Specialty sewing machine parts retailers often carry components compatible with older Singer models. Identifying the correct part number (often found in the original manual, if available) is crucial for a successful search. Forums and support communities (mentioned previously) can also be excellent sources for locating suppliers or even purchasing parts directly from other enthusiasts. Patience and diligent searching are key to restoring your Singer 500A to full functionality.
Leave a Reply
You must be logged in to post a comment.