Rain Dial Manual: A Comprehensive Guide
This manual details the Rain Dial controller, offering programming instructions, troubleshooting, and parts information. It covers models like HG-1800 and I-PRO600-CV,
and includes details on features like rain delay (RAIN DLY) and daylight saving time (DS TIME).
Rain Dial controllers are sophisticated systems designed for automated irrigation management, offering precise control over watering schedules. These controllers, including models like the HG-1800 and HG-2000M, streamline lawn and garden care, conserving water and promoting healthy plant growth. Understanding the controller’s functions – from setting the time and date to utilizing advanced features like rain delay – is crucial for optimal performance.
This guide provides a comprehensive overview, covering model identification, programming techniques, and troubleshooting common issues. Whether you’re a homeowner or a landscaping professional, this manual will empower you to effectively manage your irrigation system with a Rain Dial controller.
Understanding Rain Dial Controller Functions
Rain Dial controllers boast a range of functions for tailored irrigation. Core functionalities include precise time and date setting, enabling scheduled watering cycles. Advanced features, such as the ‘RAIN DLY’ function, automatically pause irrigation during rainfall, conserving water. The ‘DS TIME’ setting adjusts for daylight saving, ensuring accurate scheduling.
Furthermore, the ‘NUM START’ function allows multiple watering cycles per day. Understanding these features, alongside the speed adjusting dial for tool control (relevant in some models), is key. Proper utilization maximizes efficiency and promotes healthy landscapes, adapting to varying weather conditions and plant needs.
Rain Dial Model Numbers and Identification
Identifying your Rain Dial model is crucial for accessing specific documentation and parts. Model numbers, like RE-AT0001L00B, contain vital information. The fifth and sixth digits typically indicate the watch caliber number associated with the controller’s internal components (e.g., AT).
Controllers also feature product, serial numbers, and technical data tables, often found on a central label. Models such as HG-1800, HG-2000M, and I-PRO600-CV each have unique specifications. Accurate identification ensures compatibility when ordering replacement parts or seeking troubleshooting assistance, streamlining maintenance and repair processes.
Decoding Rain Dial Model Codes (e.g., RE-AT0001L00B)
Rain Dial model codes, such as RE-AT0001L00B, are structured to convey specific product details. The ‘RE’ prefix likely denotes a revision or series. ‘AT’ signifies the caliber number, linking the controller to a particular watch movement or internal mechanism. The numerical sequence (0001) often represents a production batch or variant.
The trailing letters (L00B) may indicate regional specifications or minor feature differences. Understanding this coding system allows for precise identification, facilitating accurate parts ordering and access to relevant technical documentation. This systematic approach ensures compatibility and efficient servicing.
Identifying Caliber Numbers within Model Numbers
Caliber numbers are crucial for identifying compatible components and understanding a Rain Dial controller’s internal specifications. Within a model number like RE-AT0001L00B, ‘AT’ directly represents the caliber. This number correlates to a specific watch movement or internal mechanism design.
Searching by caliber number streamlines the process of finding replacement parts or accessing detailed technical information. It ensures accurate matching and avoids compatibility issues. Recognizing this element within the model code is essential for technicians and users alike, promoting efficient maintenance and repair procedures.
Programming a Rain Dial Controller
Successfully utilizing a Rain Dial controller hinges on accurate programming of time, date, and watering schedules. The controller functions similarly to previous Rain Dial models, offering a familiar interface for users. Initial setup requires setting the current time and date as a foundational step.
Subsequently, configuring watering schedules involves defining start times, durations, and frequency. Advanced features like rain delay (RAIN DLY) and daylight saving time (DS TIME) can be adjusted to optimize water usage and maintain schedule accuracy throughout the year.
Setting the Current Time and Date
Establishing the correct time and date is paramount for accurate scheduling with your Rain Dial controller. Begin by accessing the time/date setting menu, typically through a dedicated button or sequence of button presses. The current date, as of today, February 14, 2026, at 23:39:20 (), serves as a reference point.
Navigate through the options to adjust the month, day, year, hour, and minute. Confirm each setting to ensure accuracy. Proper time and date configuration are essential for all subsequent programming steps, including watering schedules and rain delay functions.
Configuring Watering Schedules
To establish efficient watering, access the scheduling menu on your Rain Dial controller. Define start times – the moments when watering cycles begin. Specify the duration for each zone, determining how long sprinklers run. Crucially, select the days of the week for each schedule, tailoring watering to your landscape’s needs.
Consider utilizing multiple schedules for varied zones or plant types. Remember that accurate time and date settings (established previously) are vital for schedule execution. Regularly review and adjust schedules based on seasonal changes and weather patterns to optimize water usage.
Advanced Rain Dial Features
Rain Dial controllers offer features beyond basic scheduling. The ‘RAIN DLY’ function suspends watering during rainfall, conserving water. ‘DS TIME’ automatically adjusts for Daylight Saving Time, ensuring accurate scheduling year-round. ‘NUM START’ allows multiple watering cycles per day, ideal for varying soil conditions.
These advanced options provide granular control over irrigation. Explore the controller’s interface to fully utilize these capabilities. Proper configuration maximizes water efficiency and promotes healthy plant growth. Remember to consult the full manual for detailed instructions on each feature’s operation and customization.
Rain Delay Functionality (RAIN DLY)
The RAIN DLY feature temporarily halts scheduled watering cycles, preventing over-saturation during natural precipitation. This is crucial for water conservation and maintaining plant health. Activation suspends all programmed schedules for a user-defined duration, typically ranging from hours to days.
Accessing RAIN DLY usually involves navigating the controller’s menu and selecting the desired delay period. Remember to deactivate the rain delay once the weather clears to resume normal watering. Utilizing this function effectively minimizes water waste and adapts to changing weather conditions, optimizing irrigation efficiency.
Daylight Saving Time Adjustment (DS TIME)
The DS TIME function ensures accurate schedule execution during Daylight Saving Time transitions. When DST begins, the controller automatically advances the clock forward by one hour, maintaining correct watering times. Conversely, when DST ends, the clock reverts to standard time.
Accessing DS TIME within the controller’s settings allows users to enable or disable this automatic adjustment. Proper DST configuration is vital for consistent irrigation, preventing schedules from running an hour early or late. Failing to adjust can disrupt watering routines and impact plant health, so regular verification is recommended.
Number of Start Cycles (NUM START)
The NUM START feature dictates how many independent watering start times can be programmed within a single day. This allows for flexible irrigation scheduling, accommodating varying plant needs or water pressure limitations. Controllers support multiple start cycles, enabling segmented watering throughout the day.
Adjusting NUM START determines the maximum number of programs you can create for each zone. Higher numbers offer greater control, but require careful planning. Understanding this setting is crucial for optimizing water usage and ensuring adequate hydration for all landscape areas, preventing runoff or drought stress.
Troubleshooting Common Rain Dial Issues
Encountering problems with your Rain Dial controller? Common issues include the unit failing to power on – check the power supply and wiring connections. If schedules aren’t running as expected, verify programming accuracy, including start times and durations. Ensure the rain delay function (RAIN DLY) isn’t activated unintentionally.
Inspect valve connections and wiring for faults. A thorough review of the programming and physical connections often resolves most problems. If issues persist, consult the full manual or contact a qualified irrigation technician for assistance. Proper diagnosis is key to restoring optimal system function.
Controller Not Powering On
If your Rain Dial controller isn’t powering on, begin by verifying the power source. Ensure the unit is correctly plugged into a functioning outlet, or that the circuit breaker hasn’t tripped. Inspect the power adapter for any visible damage, such as frayed wires or cracks.
Check all wiring connections within the controller enclosure, ensuring they are secure and free from corrosion. A loose connection can interrupt power flow. If the problem persists, test the outlet with another device to confirm it’s providing power. Consider professional assistance if these steps don’t resolve the issue.
Schedule Not Running as Expected
When a Rain Dial schedule doesn’t run as programmed, first confirm the current time and date are correctly set. Incorrect time settings will cause schedules to activate at the wrong times. Verify that the watering schedules are enabled and haven’t been accidentally disabled.
Check for any active rain delay settings (RAIN DLY), as this will temporarily suspend scheduled watering. Ensure the number of start cycles (NUM START) isn’t limiting operation. Inspect valve wiring for proper connections and functionality, as faulty valves can prevent watering.
Rain Dial Controller Parts and Diagrams
Understanding the Rain Dial’s internal components is crucial for maintenance and repair. Detailed parts diagrams are available, illustrating each component’s location and function. These diagrams utilize numbered parts lists for easy identification.
Common replacement parts include components for the 1000/2000 Single Controller General Station. Identifying parts using the diagram numbers ensures correct replacements. Accessing these diagrams, often found within technical data tables (like those from Hiberg), simplifies troubleshooting and part ordering, extending the controller’s lifespan.
Identifying Parts Using Diagram Numbers
Rain Dial controller diagrams utilize a numbering system to clearly identify each component. These numbers correspond to a parts list, detailing descriptions and facilitating accurate ordering of replacements. Referencing the diagram number alongside the part description is essential for avoiding errors during repairs.
For example, when servicing a 1000/2000 Single Controller General Station, locate the relevant diagram and match the faulty part’s number. This method ensures compatibility and simplifies the repair process, minimizing downtime and maximizing controller functionality. Always consult official documentation for accurate diagrams.
Common Replacement Parts (e.g., 1000/2000 Single Controller General Station)
For the 1000/2000 Single Controller General Station, several parts frequently require replacement due to wear and tear. These include solenoids, responsible for valve activation, and printed circuit boards (PCBs), which control the controller’s logic. Additionally, transformers may fail, impacting power supply, and display screens can become damaged.
Regular inspection and timely replacement of these components are crucial for maintaining optimal performance. Utilizing the diagram numbers ensures correct part selection. Always disconnect power before attempting any repairs and consult the parts list for compatibility.
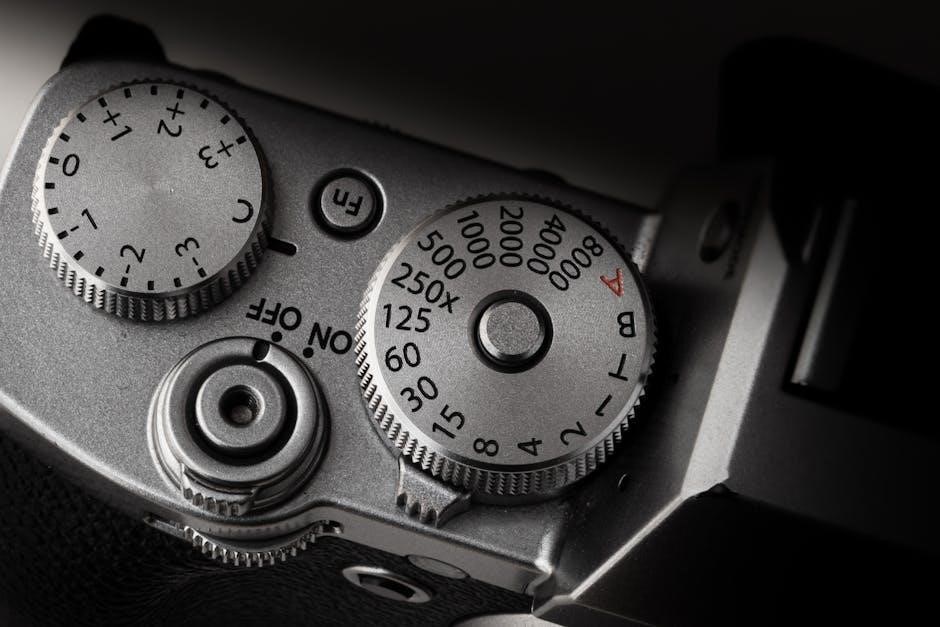
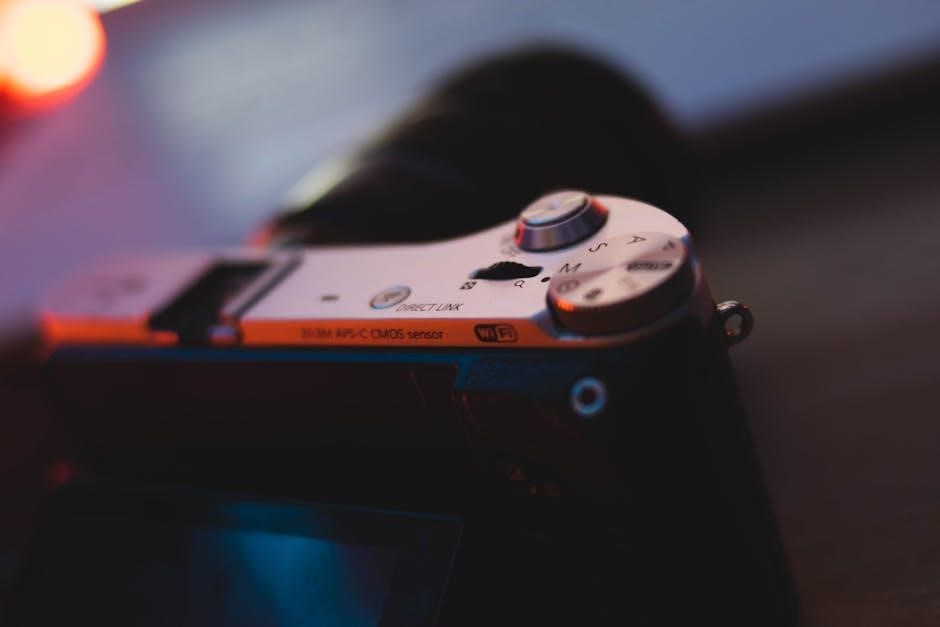
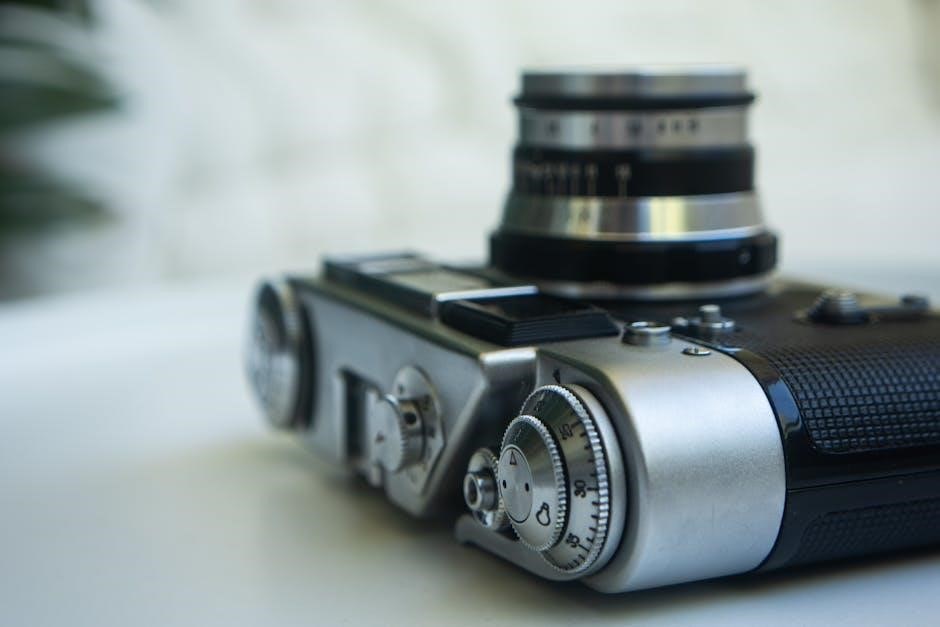
Speed Adjusting Dial Functionality
The speed adjusting dial governs tool rotation speed, offering precise control over operational intensity. Rotating the dial alters the motor’s output, impacting performance. Higher speeds, achieved by turning the dial towards number 6, are suitable for demanding tasks, while lower settings conserve energy and reduce wear.
Understanding this functionality is vital for optimal tool usage. The dial’s markings provide a visual guide to speed selection. Always ensure the selected speed aligns with the material being worked on and the task at hand for safe and efficient operation.
Adjusting Tool Rotation Speed
Tool rotation speed is adjusted via the speed dial, a crucial component for controlling performance. Turning the dial modifies the motor’s revolutions per minute (RPM), directly influencing cutting, grinding, or polishing effectiveness. A clockwise rotation generally increases speed, while counter-clockwise decreases it.
Careful adjustment is paramount; selecting an inappropriate speed can damage the tool or workpiece. Refer to the tool’s documentation for recommended speeds based on the material and application. Higher speeds are ideal for softer materials, while lower speeds suit harder substances.
Correlation Between Dial Number and Speed
The speed adjusting dial features numerical markings indicating relative rotation speeds. Higher numbers correspond to faster tool rotation, while lower numbers signify slower speeds. Turning the dial towards the number 6 generally achieves the highest speed, providing maximum power for demanding tasks.
However, the precise RPM associated with each number varies depending on the specific Rain Dial model. Consult the technical data tables or the controller’s documentation to determine the exact speed range. Understanding this correlation ensures optimal performance and prevents potential damage to the tool or workpiece.
Technical Specifications and Operating Temperatures
Rain Dial controllers exhibit varying specifications based on the model. The HG-1800 operates within a temperature range of 550°C, while the HG-2000M and HG-2000E function between 50-600°C and 250-500°C respectively. These controllers also offer differing numbers of airflow modes – the HG-2000M provides 3 modes, and the HG-2000E offers 2.
Detailed technical data, including model, product number, and serial number, can be found in accompanying tables. Proper operation requires adherence to these specified temperature ranges to ensure optimal performance and longevity of the controller.
Operating Temperature Ranges (e.g., HG-1800, HG-2000M)
Maintaining appropriate operating temperatures is crucial for Rain Dial controller functionality. The HG-1800 model is designed for environments with a temperature of 550°C. Conversely, the HG-2000M boasts a broader operational range, spanning from 50 to 600°C. The HG-2000E operates effectively within a 250-500°C spectrum.
Exceeding these ranges may compromise performance. Refer to the technical data tables for precise specifications related to your specific Rain Dial model. Consistent adherence to these guidelines ensures reliable and prolonged controller operation.
Number of Airflow Modes
Rain Dial controllers, specifically the HG-2000M, offer a versatile range of airflow modes to optimize performance across diverse conditions. This particular model features three distinct airflow modes, allowing for customized operation based on environmental needs and desired outcomes. The HG-1800 model provides two airflow modes for efficient operation.
Selecting the appropriate mode enhances the controller’s responsiveness and effectiveness. Consult the technical data tables accompanying your specific Rain Dial model to understand the characteristics of each airflow setting and maximize its potential.
Understanding Weather-Related Terminology
Accurate weather assessment is crucial for effective Rain Dial controller operation. “Light rain,” often described as “mist,” signifies very small water droplets suspended in the air, potentially triggering rain delay functions. Recognizing impending rainfall is equally important; the phrase “It’s going to rain soon” serves as a common warning, prompting users to activate the rain delay feature proactively.
Avoid illogical phrasing like “The sky stopped to rain,” as the sky is where rain originates. Clear communication regarding weather conditions ensures optimal controller settings and prevents unnecessary watering cycles.
Describing Light Rain (Mist)
Defining “mist” is essential for utilizing the Rain Dial’s rain delay features effectively. Mist represents exceptionally small rain droplets, almost suspended in the air, creating reduced visibility. It differs from drizzle, which consists of larger, yet still light, raindrops. When encountering mist, consider activating the Rain Dial’s delay function to prevent overwatering your landscape.
The controller doesn’t directly “sense” mist, so user observation and judgment are key. Accurate description – recognizing the subtlety of mist – allows for informed decisions regarding irrigation schedules and water conservation.
Predicting Imminent Rain (“It’s going to rain soon”)
Anticipating rainfall is crucial for maximizing the Rain Dial controller’s efficiency. Phrases like “It’s going to rain soon” signal the need to activate the rain delay function. This proactive approach prevents unnecessary watering, conserving water and promoting healthy plant growth. Relying on weather forecasts, observing darkening skies, or feeling increased humidity are indicators.
The Rain Dial doesn’t predict rain itself; it requires user input based on these observations. Promptly setting the rain delay upon recognizing impending precipitation ensures optimal irrigation management and avoids wasteful water usage.
Rain Dial Controller and Variable Temperature Selection
While the Rain Dial primarily manages irrigation, understanding its interaction with other systems is beneficial. Variable temperature selectors, often found in washing machines, influence water usage indirectly. Reducing wash temperatures can lessen overall water demand, complementing the Rain Dial’s water-saving capabilities.
For example, selecting a cold water wash cycle minimizes hot water consumption. This holistic approach to resource management ensures efficient operation of all connected appliances, maximizing environmental benefits and reducing utility bills. The Rain Dial optimizes outdoor watering, while variable temperature settings refine indoor water use.
Using Variable Temperature Selectors
Variable temperature selectors allow adjustments to wash cycle heat, impacting water consumption. An intense cottons cycle, for instance, can be run in cold water, significantly reducing energy use and water heating demands. This feature provides flexibility, enabling users to tailor wash settings to fabric type and soil level.
Selecting lower temperatures conserves resources and protects delicate fabrics. The selector’s functionality isn’t directly linked to the Rain Dial, but contributes to overall water conservation efforts. By minimizing hot water usage, you indirectly support sustainable practices alongside your automated irrigation system.
The Logic of Rain and Sky Descriptions
Accurate descriptions of weather are crucial for effective Rain Dial programming. Illogical phrasing, such as “The sky stopped to rain,” should be avoided. The sky is where rain originates; it doesn’t cease an action to begin raining. Instead, use clear statements like “It is raining” or “Rain is falling.”
Predicting imminent rain is often expressed as “It’s going to rain soon,” prompting users to activate the rain delay function. Consistent, logical language ensures clear communication about weather conditions, optimizing the Rain Dial’s performance and preventing scheduling errors based on misinterpretations.
Avoiding Illogical Phrasing (“The sky stopped to rain”)
Maintaining logical consistency in weather descriptions is paramount for accurate Rain Dial operation. The phrase “The sky stopped to rain” presents a flawed concept; the sky is the source of rain, not an actor pausing an activity. Such phrasing introduces ambiguity and hinders clear understanding of current conditions.
Instead, focus on direct observations: “Rain has stopped,” or “The rain has ceased.” This clarity directly impacts scheduling. Avoid attributing actions to the sky itself. Precise language ensures the Rain Dial responds appropriately to actual weather, maximizing water conservation and garden health.
Rain Dial Controller and Machine Status
The Rain Dial controller’s functionality extends to monitoring connected machine statuses. Specifically, documentation references a “Jig saw Model No./ Type: JS550” status, indicating integration with other devices for comprehensive operational oversight. This suggests the controller isn’t solely for irrigation, but potentially a broader system management tool.
Technical data tables, accessible via Hiberg resources, contain model, product, and serial number information for these linked machines. This data allows for precise diagnostics and maintenance scheduling, ensuring optimal performance across all connected systems. Further investigation into Hiberg’s documentation is recommended.
Jig Saw Model No./ Type: JS550 Status
The Rain Dial controller demonstrates capability beyond irrigation, extending to machine status monitoring, exemplified by the “Jig saw Model No./ Type: JS550”. Documentation indicates the controller can report on the operational status of this specific jig saw model, suggesting a broader system integration.
This integration likely involves data exchange, allowing the Rain Dial to display information regarding the jig saw’s functionality. Accessing Hiberg’s technical data tables, containing model, product, and serial numbers, is crucial for understanding the specifics of this status reporting. Further research is needed to fully define the scope of this feature.
Rain Dial Controller and Watch Calibers
Interestingly, the Rain Dial controller’s model numbering system incorporates watch caliber identification. Decoding the model code reveals that the fourth and fifth digits specifically denote the caliber number of a corresponding watch. For instance, a model number of “RE-AT0001L00B” indicates a caliber number of “AT”.
This unexpected connection suggests a potential historical or manufacturing link between the Rain Dial’s origin and watchmaking. Searching by these caliber numbers could unlock further information about the controller’s development or related product lines. This feature is a unique aspect of the Rain Dial system.
Connecting Rain Dial to Watch Model Numbers
Utilizing the embedded caliber codes within Rain Dial model numbers allows for cross-referencing with watch databases. If your controller’s model is, for example, RE-AT0001L00B, searching for watches with the “AT” caliber can reveal associated brands and models. This connection, while seemingly obscure, provides a pathway to potentially uncover historical manufacturing details.
This method isn’t a direct link to Rain Dial compatibility, but rather a clue to its origins. Further research into watches bearing the identified caliber may illuminate the controller’s initial design or manufacturing context; It’s a unique investigative avenue.
Rain Dial Controller and Korean Pop Singer Rain
The association between the Rain Dial controller and Jung Ji-hoon, known professionally as “Rain,” is purely coincidental. The controller’s name predates the singer’s rise to fame, and there is no functional or historical connection between the two. This often leads to humorous inquiries, stemming from the shared use of the word “Rain.”
Born in 1982, Rain is a prominent figure in Korean pop culture, a singer, actor, and dancer. However, this information is irrelevant to the operation, maintenance, or troubleshooting of the Rain Dial irrigation controller. It’s a playful, unrelated namesake.
Brief Mention of Rain (Jung Ji-hoon)
To address potential confusion, a brief note regarding “Rain” – the Korean pop singer Jung Ji-hoon – is necessary. His career began in 2002 with the album First Drop, achieving significant success as a performer, actor, and choreographer. This is entirely separate from the Rain Dial controller’s functionality.
The similarity in names frequently prompts questions, but it’s crucial to understand there’s no technical link. Focusing on the controller’s programming, troubleshooting, and features – like the rain delay function – remains the primary objective of this manual. Any inquiries about the artist are outside its scope.
Rain Dial Controller and Hiberg Technical Data
Accessing Hiberg’s technical data tables provides crucial information for Rain Dial controller integration and operation. These tables, found on the Hiberg website (www.hiberg.ru), detail model numbers, product numbers, and serial numbers. This data is essential for identifying compatible components and understanding performance specifications;
Specifically, the tables outline operating temperatures for models like HG-1800 and HG-2000M, alongside the number of airflow modes available. This information is vital for optimal system configuration and troubleshooting. Referencing these tables ensures accurate installation and maintenance procedures are followed.
Accessing Technical Data Tables
Hiberg’s comprehensive technical data tables are readily available on their official website, www.hiberg.ru. These tables are structured to provide detailed specifications for each Rain Dial controller model, including operating temperatures and airflow modes. Locating the correct table requires knowing the specific model or product number.
Within these tables, you’ll find critical information such as serial numbers, aiding in identification and warranty verification. The data is presented in a clear, organized format, facilitating quick access to necessary parameters for installation, maintenance, and troubleshooting. Careful review of these tables is paramount for optimal performance.
Rain Dial Controller and I-PRO600-CV Dimensions
The I-PRO600-CV Rain Dial controller boasts compact dimensions, measuring 6 centimeters in width and 15 centimeters in length. These precise measurements are crucial for planning installation locations, ensuring adequate space within control panels or mounting surfaces. Understanding these dimensions prevents potential compatibility issues during setup.
These specifications are consistently documented within the technical data tables provided by Hiberg, alongside other vital parameters. Accurate dimensional awareness streamlines the installation process, minimizing complications and maximizing efficiency. Proper consideration of these measurements guarantees a secure and functional integration.
Understanding Controller Dimensions (6 / 15 cm)
The I-PRO600-CV controller’s dimensions – 6 cm width and 15 cm length – are fundamental for successful installation. These measurements dictate the available mounting space and ensure proper fit within existing enclosures. Precise planning based on these figures avoids potential obstructions or interference with other components.
Consider these dimensions when assessing compatibility with control panels or junction boxes. Accurate measurement of the intended installation location is vital. These specifications, detailed in Hiberg’s technical documentation, guarantee a seamless integration, optimizing functionality and accessibility for future maintenance or adjustments.
Leave a Reply
You must be logged in to post a comment.